
Editing, Updating, and Synchronizing Users Information and Profile Pictures
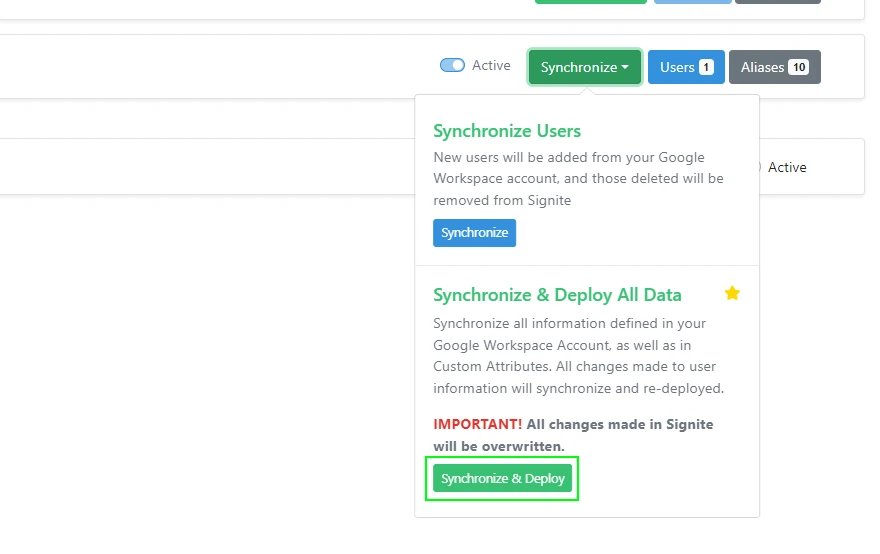
Though Signite lets you manage you users’ information directly from its interface, you can also enter the information directly in your Google Workspace account, and synchronize it into Signite using the Synchronize & Deploy All Data option in the Domains screen Synchronize drop down menu.
See the following guide for more information about syncing the information: Synchronizing Domains and Users
1. How to Add or Edit User Information on Google Workspace
To change the user information on Google Workspace, log in to your Google Workspace account, and under Directory -> Users choose the user you wish to update.

In the user screen, scroll down to User information and click the headline to see additional options
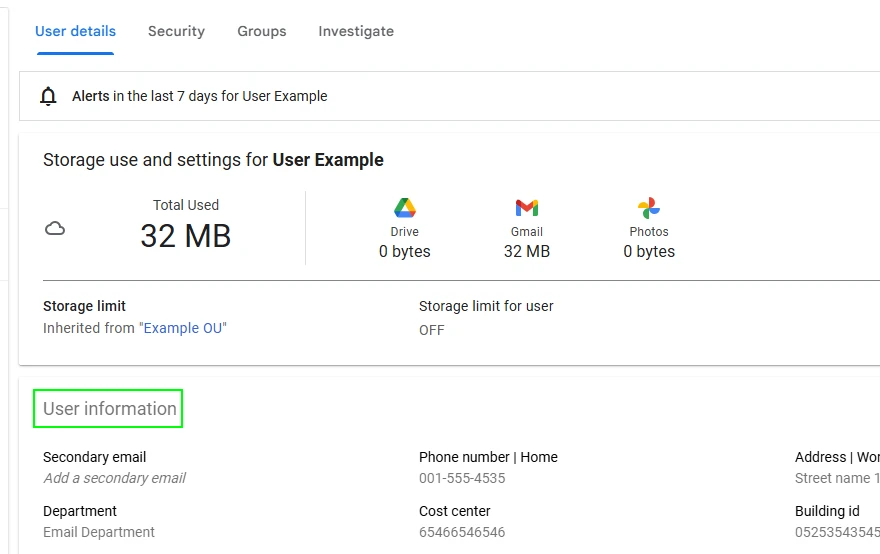
Here you can choose to change the user’s User details, including the user’s Contact information, Alternate email addresses (email alias) and Employee information.
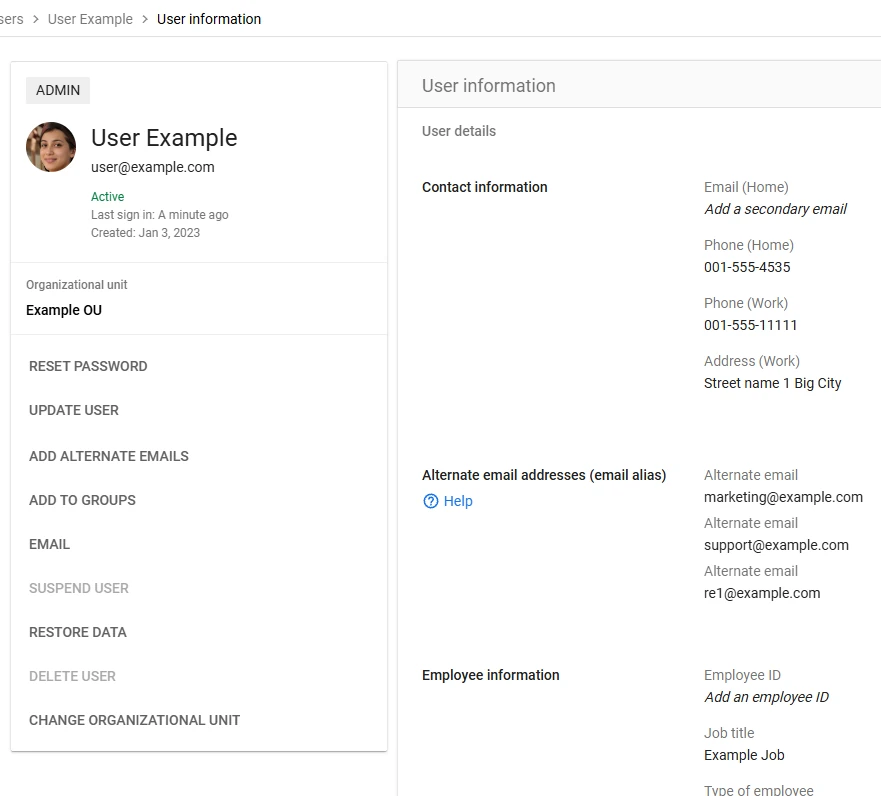
1.1. Contact information
Your user’s basic information, like their address, phones and additional emails can be edited here. Signite uses the first Work phone as the user’s phone, and any additional work phones as Additional Phone.
The Mobile phone number on GW is set as the Mobile phone on Signite by default.
Changing the information here requires that you re-sync your information on Signite by using the Synchronize & Deploy All Data option in the Domains screen Synchronize drop down menu.
1.2. Alternate email addresses (email alias)
Here you can add an update alternate emails connected to this user.
You can read more about aliases on Signite in the following guide: Alias Signature Support
1.3. Profile Pic
The profile pic can be managed in Google Workspace and synchronized with Signite.
Note that Google limits the size of the of the profile pic to 96px x 96px.
1.3.1. How to Manage the Profile Pics on Google Workspace
The profile pic can be changed and managed from the top left section of the user’s editing screen, next to their name:
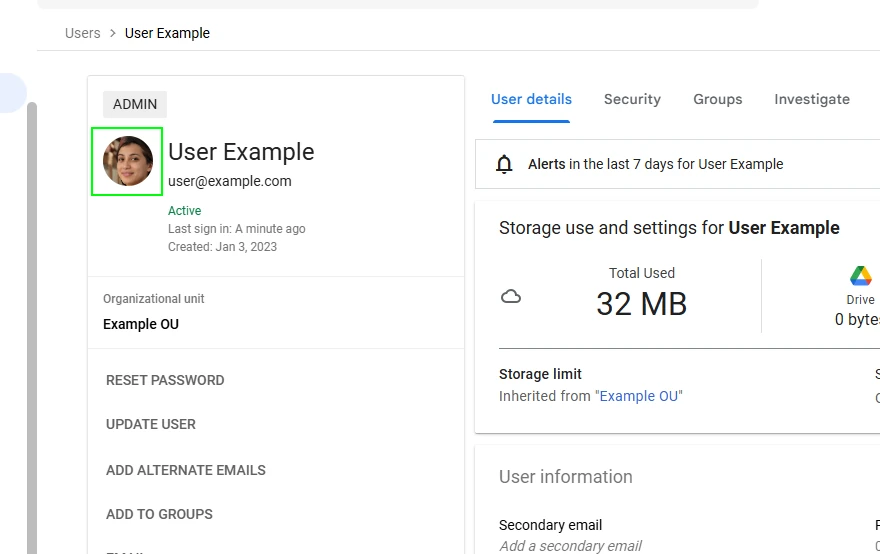
Click it to upload a new image and save it to the user.
1.3.2 Synchronize the Profile Pic to Signite
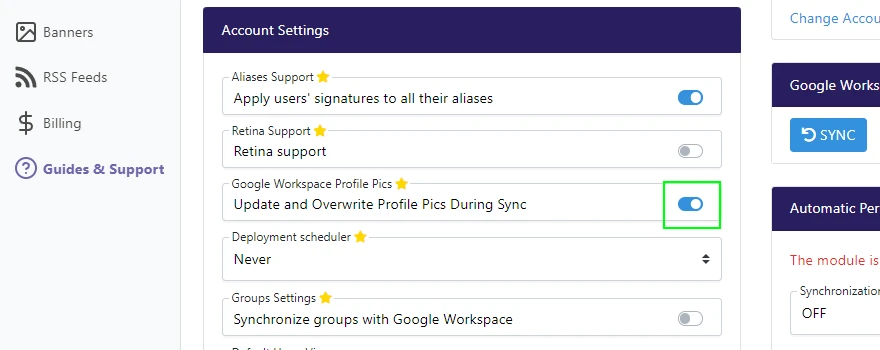
To sync the profile pic to Signite, first go to your Account screen, and turn on the Update and Overwrite Profile Pics During Sync checkbox under the Account Settings.
Note that this is a Premium option, and is available only to accounts under a Premium plan:
Following that, go to your Domains screen, and for each relevant domain, re-sync your information by using the Synchronize & Deploy All Data option from the Synchronize drop down menu for that domain.
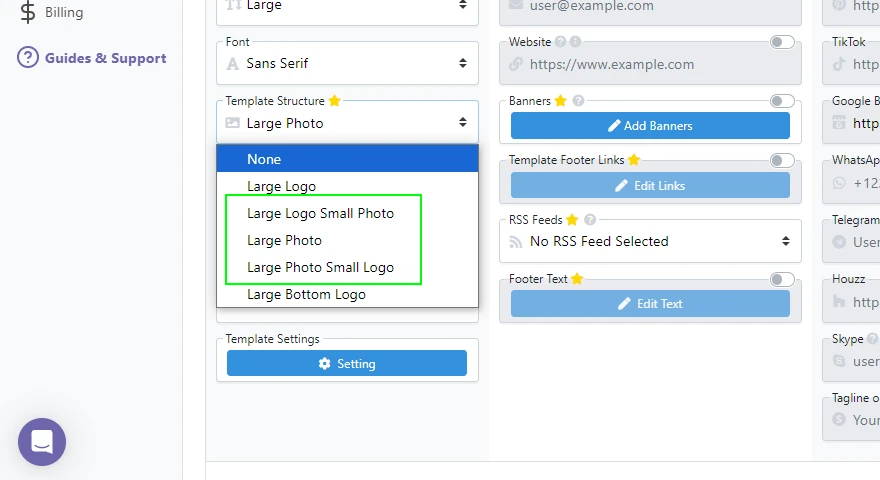
Make sure that the template has the Profile pic available by choosing the relevant template structure:
1.4. Custom Attributes
You can add Custom attributes and syncing them into Signite by using the Custom Attributes Synchronization option on your Account screen in Signite.
See more regarding Custom Attributes Synchronization in this guide: Manage And Display Google Workplace Custom Attributes In Your Signatures
For any change to take effect on Signite, you’ll need to overwrite the information on Signite by using the Synchronize & Deploy All Data option in the Domains screen Synchronize drop menu.
2. How to Add or Edit User Information on Signite
To edit a user’s information on Signite first go to the Users screen, and either with the search function or the filtering options, find the user you wish to edit in the users list and click their name.

This will take you to the User Editing screen.
On the left you’ll see all relevant fields you can add and change for the user’s signature
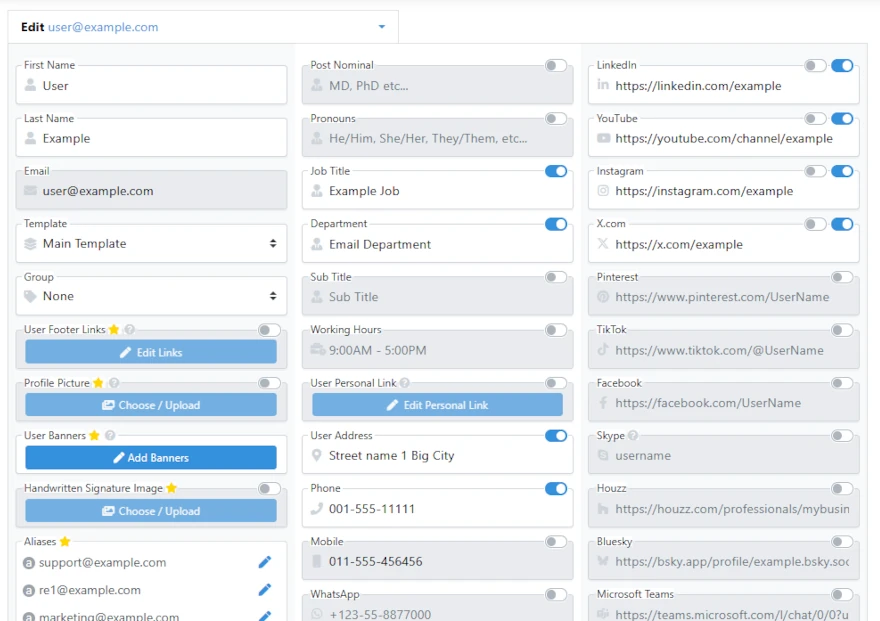
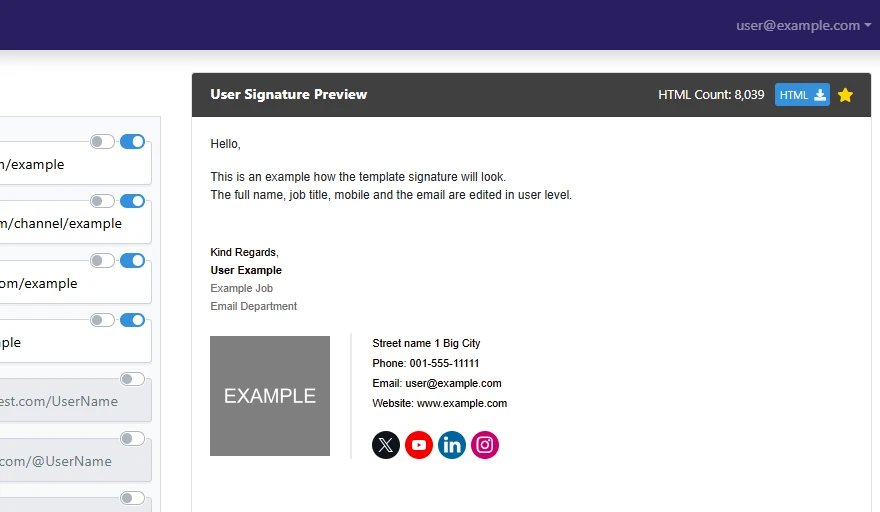
On the right you’ll see a preview of the user’s signature, containing all changes you’ve already made.
Any information changed on this screen will only affect this specific user.
To change information for all users using the same template, go to the Templates screen and choose the relevant template you wish to edit.
See more regarding templates in this guide: How do I edit and set a signature template with Signite?
See more user options in this guide: How do I edit user details and signatures with Signite?
Updating the user information for a deployed user will prompt a new deployment of the signature, containing the updated information.
Note: User information edited in Signite will be overwritten by the Synchronize & Deploy All Data option in the drop menu. In order to keep the information you’ve entered in Signite when syncing your domain, use the Synchronize Users option instead.
See the following guide for more information: Update and Redeploy Signatures
After making any changes, make sure to refresh your Gmail screen to see the updated version.
If you have any questions, please contact us at support@signite.io